
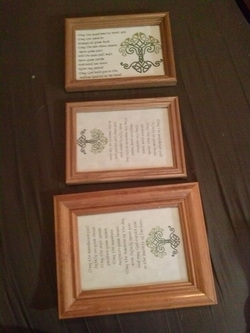
 Here’s a fun and easy project that let’s you re-imagine art everyday. Who doesn’t have extra photo frames around the house? Whether you have left-overs from a wedding shower project or you picked up a few vintage frames for next to nothing at your favorite antique mall you can turn the everyday simple into a delightful custom art piece. Step 1 Choose you frames. You can use one, two or three! For our example we’ll be using three. Don’t worry about the frames matching, each frames' unique shape is what makes it visually interesting. We’ll be unifying the frames through color. Step 2. Disassemble the frame and remove and set aside the glass (you can save it for another project, because you won’ t be needing it for this). Step 3. Choose a color or colors for your frames that will balance your space. If your furniture is neutral the frames can add a needed pop of color, but if your furnishings or curtains use a vibrant color palette the frames can be painted a neutral color. It’s all about balancing your colors. Step 4. Paint the frames. You may want to use multiple coats to assure full coverage. Step 5. After the frames have dried, apply a clear coat. Tthis adds durability and makes cleaning easier. Step 6. Paint the interior side of the frame backing (the side you would see through the frame) with chalkboard paint. It may take a few coats depending on what material the backing is made of, cardboard is quite absorbent. Step 7. Once everything is dry reassemble the frame. Step 8. Decorate the frame. You can add color by hot glueing buttons or beads. Be creative because you could embellish the frame with just about anything. Step 9. If you used multiple frames connect them using hemp or ribbon or whatever you already have around the house, and create a loop on top to use as a hanger. Step 10. Decorate your mini-chalkboard. You can write your favorite words, leave a message, or draw a picture. Express yourself. 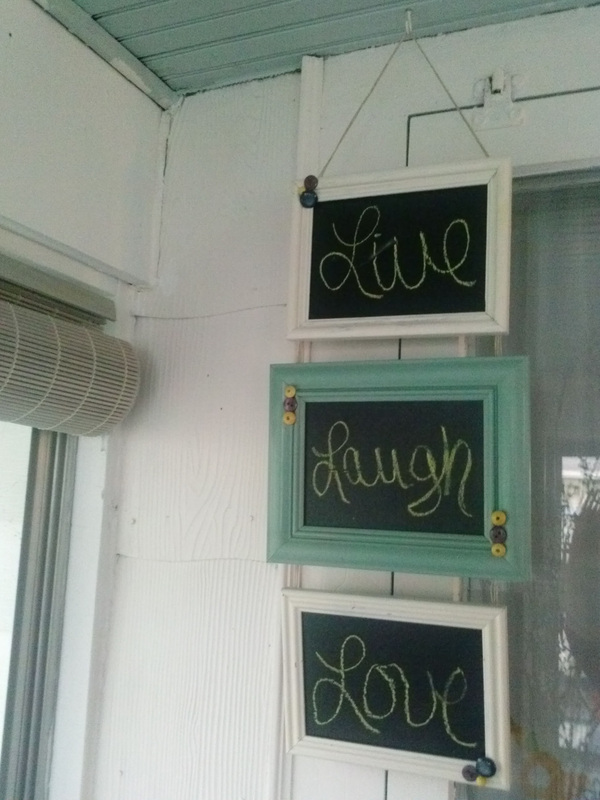
2 Comments
11/6/2022 08:44:56 pm
Thank you so much for sharing this! It is so inspiring and we got a lot of ideas. This is also a must read for all people who's looking for an <a href="https://www.windsongtagaytay.com" title="event's place" alt="event's place">event's place</a> that is perfect for any kind of occasion. Kudos! 3/13/2023 01:41:06 am
I really appreciate your work especially the research part of it which made the whole point very easy to understand. After all I’ll be subscribing on your feed and I am hoping you write again very soon. Leave a Reply. |
Archives
April 2015
Categories
All
|
 RSS Feed