
 Dear Dealers,
Happy Spring to everyone! I don’t know about you, but it could not have started sooner. I am sure all of you are excited to begin the 2013 buying season! Welcome back to garage sales, outdoor auctions, and flea markets. We are certainly looking forward to the great things you all will bring in. Let me take this opportunity to thank you for all your hard work and dedication. You are the reason our store is such a great success. Your creativity shines as guests wind around and find those treasures you have worked so hard to find, clean, restore, and replace. Let this spring season give you renewed enthusiasm for what we do and help to pull us all out of an especially hard winter. There are a number of things that the Staff at S.A.M are excited about, much of it you will find in the newsletter this month. Let me highlight a few…. • This month you will see our new awnings go up on the outside of the building! We are looking forward to our new “bling.” They will be practical and complimentary to our curb appeal. We have been very pleased with our service from United Sign and Awning for this project. (Awnings pictured above) • Mom and I are definitely making some progress upstairs! We will be offering a new showroom for our guests that will illustrate how to incorporate new furniture with antique/vintage furniture and accessories. Our motto for the space is…”See how we merge the comforts of today with the beauty of yesterday!” Guests will be able to order new furniture through American Wholesale Furniture and purchase one-of-a-kind pieces off the showroom floor. We are very pleased with the results thus far. We hope you enjoy it as well. We will have a “soft opening” of the upstairs the first week in May with a “grand opening” to follow. • Don’t forget to sign up for the May sale (2nd weekend ). It is such a fun weekend and we would hate for anyone to miss out on a great selling opportunity! • The Southport Street Fair is May 4th from 11-5. It is always a wonderful way for families to spend a Saturday. Come show your support for our city and have some fun! Thank you so much for taking the time to read my column. Mom and I wish each of you all the best the spring will bring and look forward to an awesome summer with you!! Blessings! Alissa Tip #1 You cannot spray paint holding the can upside down. It really just won’t work out for you.
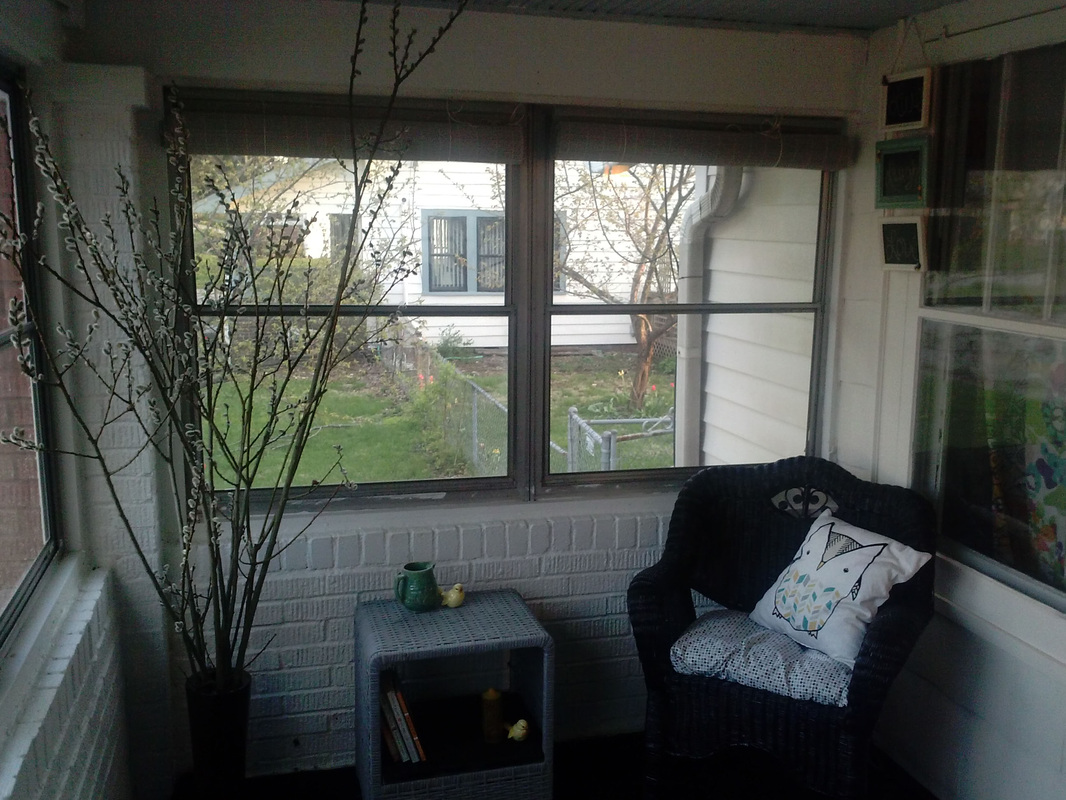
Always hold your spray paint can at a right angle. Tip #2 Check the price tag because they can really vary! Neutral colors tend to be less expensive and you can find them at some stores for only 99 cents a piece. So you can freshen up your antique finds with a neutral and then add your pop color with accessories, fabric, and other embellishments to help you save even more money. Tip #3 The spray paint can will make that awful hissing sound even when it’s empty. So, try not to stand there for 10 minutes wondering why that last coat doesn’t seem to be taking. Simply test your paint on a blank surface if you aren’t sure if it’s empty or not. Tip #4 Spray paint is super sticky so make sure you wipe down your project piece and keep bugs and debris away from your drying item because they will be stuck there unless you want to scrape it all off and try again. Tip #5 Unless you are going for an unfinished look, you may want to spray paint in all directions. When painting wicker or any other woven material remember to spray paint in small circular motions to make sure you have achieved full coverage. Reimagining your porch can be so easy and you won’t even have to take out a second mortgage for this makeover. So, here are some tips we here at the Southport Antique Mall think are just great for a budget friendly porch transformation. Tip #1 Paint is a simple and easy way to update any porch furniture (if your furniture is wicker, spray paint is easier than trying to brush it on)! Tip #2 Don’t be afraid of darker colors on your porch. In fact, the porch is the perfect place to include those deeper hues you love because the sunlight brightens the room for you! Tip #3 Don’t want to take the time to repaint or need more of a change then the paint creates? You can change the cushion covers on your furniture! Don’t know how to sew? Not a problem! Buy pillowcases with a pattern you love, slip them over the cushions, and fold (you can safety pin them for extra security). Tip #4 If you have bench pillows you can use the matching sheet sets to cover them or buy a funky, coordinated body pillow cover and use that! Tip #5 Don’t be afraid to reimagine your own accessories too! Just because it looks old and tired in the living room, doesn’t mean it won’t bring new life to your porch. 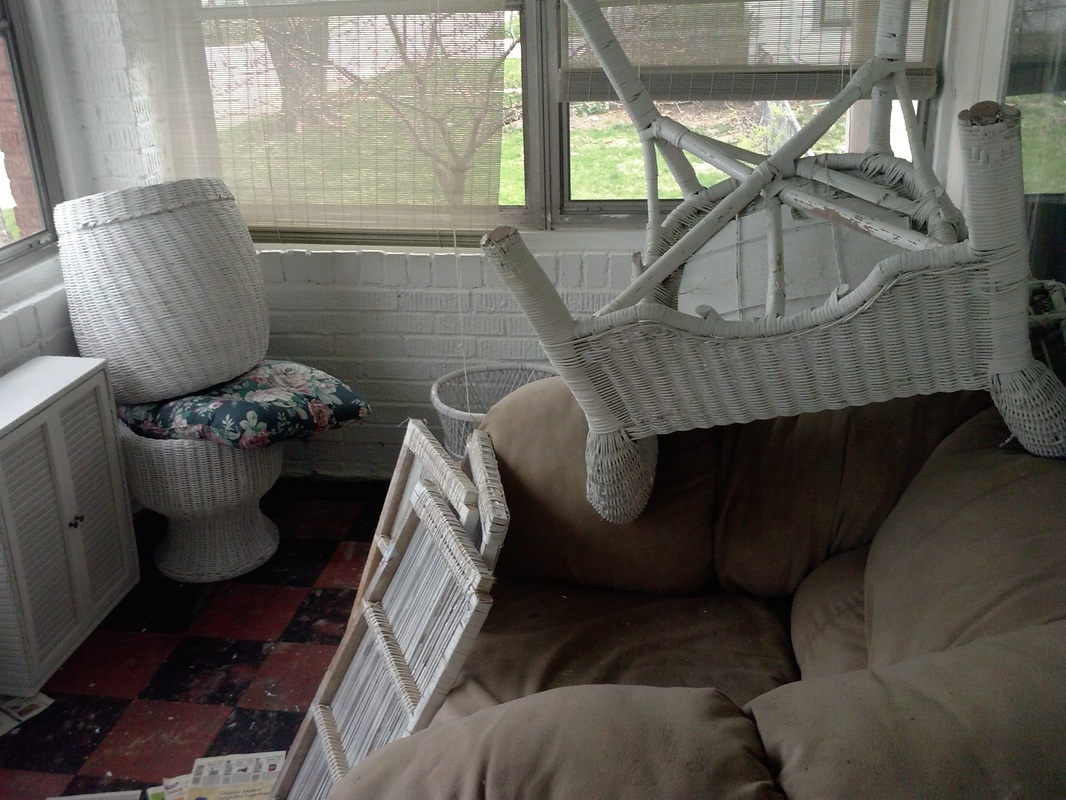
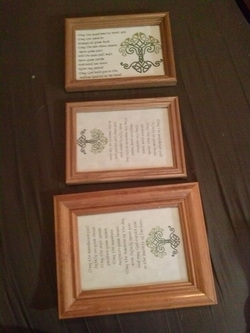 Here’s a fun and easy project that let’s you re-imagine art everyday. Who doesn’t have extra photo frames around the house? Whether you have left-overs from a wedding shower project or you picked up a few vintage frames for next to nothing at your favorite antique mall you can turn the everyday simple into a delightful custom art piece. Step 1 Choose you frames. You can use one, two or three! For our example we’ll be using three. Don’t worry about the frames matching, each frames' unique shape is what makes it visually interesting. We’ll be unifying the frames through color. Step 2. Disassemble the frame and remove and set aside the glass (you can save it for another project, because you won’ t be needing it for this). Step 3. Choose a color or colors for your frames that will balance your space. If your furniture is neutral the frames can add a needed pop of color, but if your furnishings or curtains use a vibrant color palette the frames can be painted a neutral color. It’s all about balancing your colors. Step 4. Paint the frames. You may want to use multiple coats to assure full coverage. Step 5. After the frames have dried, apply a clear coat. Tthis adds durability and makes cleaning easier. Step 6. Paint the interior side of the frame backing (the side you would see through the frame) with chalkboard paint. It may take a few coats depending on what material the backing is made of, cardboard is quite absorbent. Step 7. Once everything is dry reassemble the frame. Step 8. Decorate the frame. You can add color by hot glueing buttons or beads. Be creative because you could embellish the frame with just about anything. Step 9. If you used multiple frames connect them using hemp or ribbon or whatever you already have around the house, and create a loop on top to use as a hanger. Step 10. Decorate your mini-chalkboard. You can write your favorite words, leave a message, or draw a picture. Express yourself. 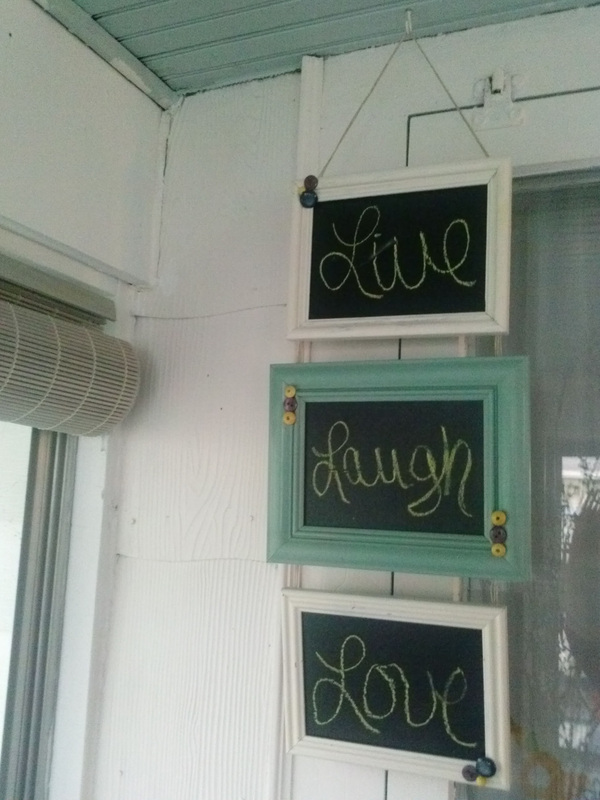
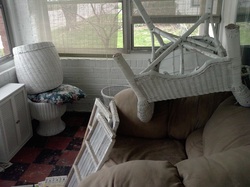 Spring is here and the flowers are blooming. Now is the perfect time to spruce up that tired front porch. During the gloomy winter months your porch has become a gathering place for anything that didn’t have a place. It’s time to reclaim your porch with a little organization and spring makeover. Making your front porch a space you like to spend time in is like adding a new room to your home. By creating an in-home retreat you’ve given yourself a place where you can commune with nature, read a book, or just have your morning coffee. Your front porch can even be a place to entertain guests and spending time on the porch can make meeting your neighbors easier allowing you to feel more in touch with your community. A front porch makeover doesn’t have to mean hours in the giant home center deciding between near identical over priced outdoor furniture. By making use of items you already have and stopping by your favorite antique mall to pick up a few vintage focal items and some pieces you can re-do, your makeover does not have to break the bank either.  Featured here is just two of the 10 piece white wicker set bought at Southport Antique Mall for just $110. That's only $11 per piece! |
Archives
April 2015
Categories
All
|
 RSS Feed